How to create documents in categories
Index
2 From the Categories explorer
3 Other ways of creating documents in categories
4 Changing documents between categories
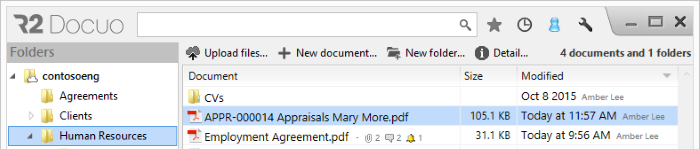
To create a document associated to a category from the Folders area, first select the folder where you want to save the document, and then click "New document".
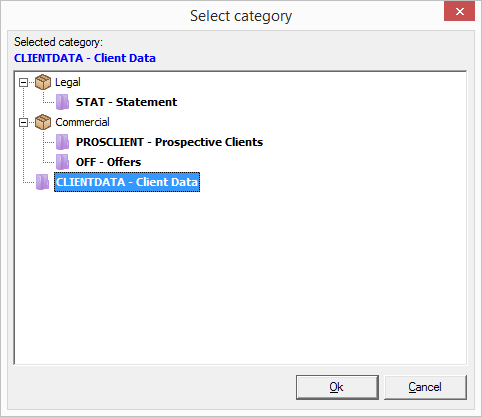
A window will pop up where you can select the category in which to create the document.
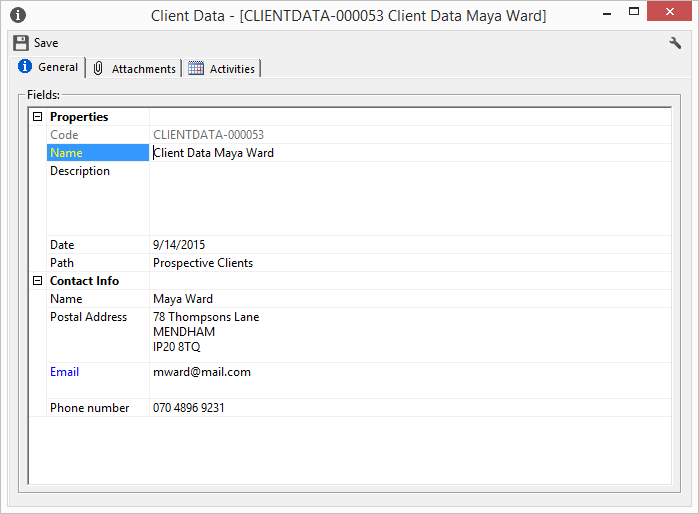
When you click OK, the details window of the selected category will open. You can enter the required details in this details window and then save the changes.
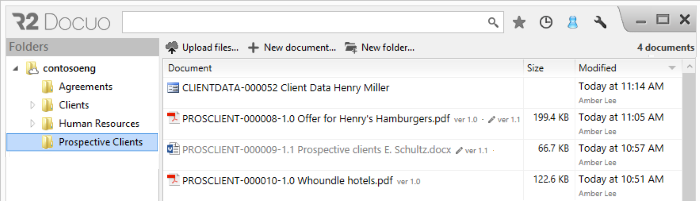
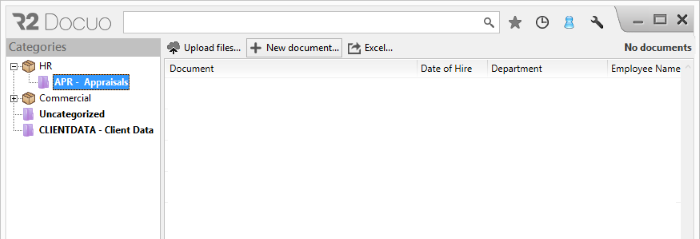
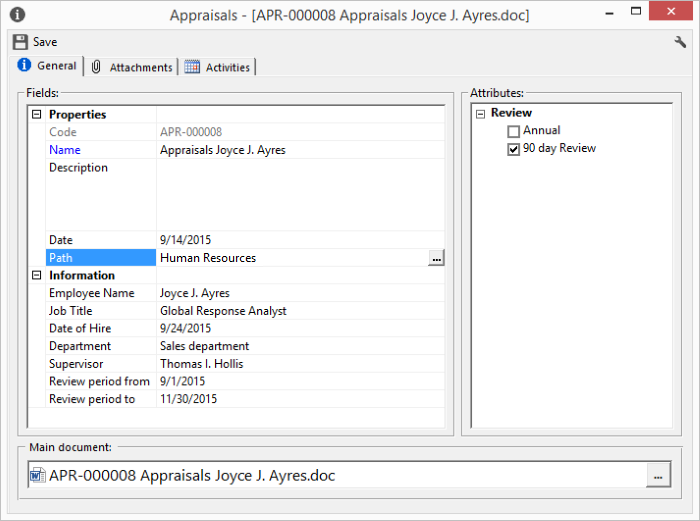
To create new documents from the Categories explorer, select the category in which to create the document and then click "New document".
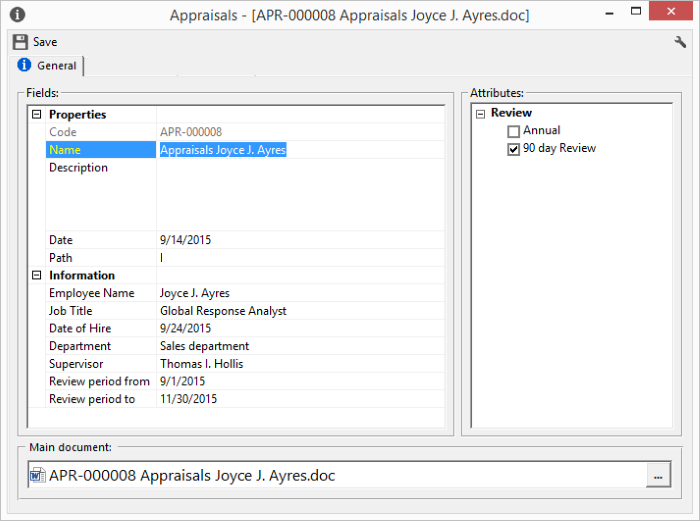
The details window of the selected category will open. Here you can enter the data required to create the document and then save the changes.
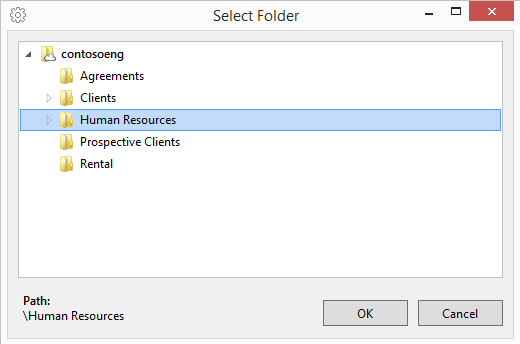
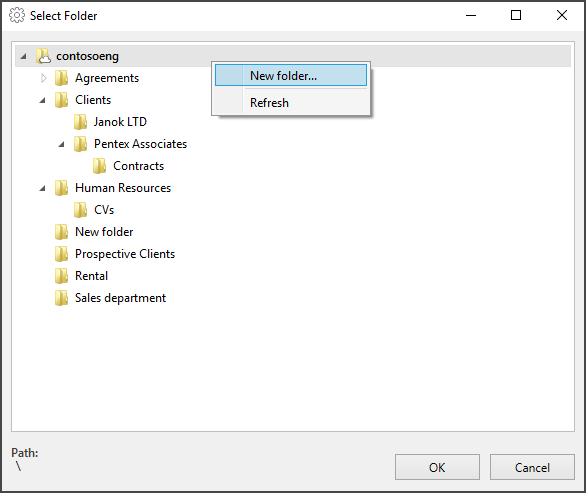
When you click Save, R2 Docuo will ask you in which folder to save the document, select the folder from the folder tree in the Select folder window or right click on a current folder to create a new folder and then click OK to save the changes.
The document has been created in the selected category and folder.
In the case of categories with a default folder, the path will not be requested when you save, as it will already be defined by the category.
Other ways of creating documents in categories
It is also possible to assign documents to categories by upgraded documents to the category or by importing the data from a Microsoft Excel template.
Upload documents to Category
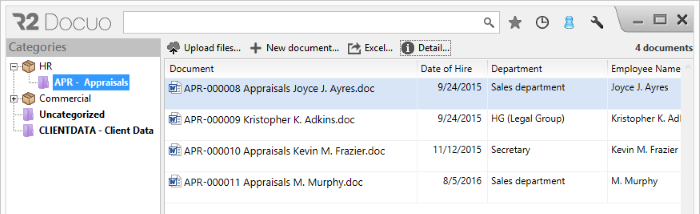
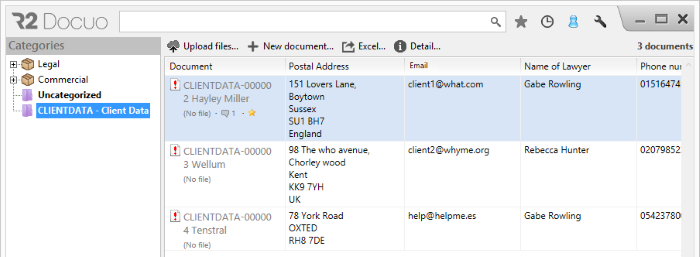
From the browsing view of categories, the category to which the documents will be assigned is selected.
Pressing the button "Upload files" Opens the File Upload Wizard. From this wizard you set the folder in which you are going to save the documents and with the button "Add " you select the desired documents
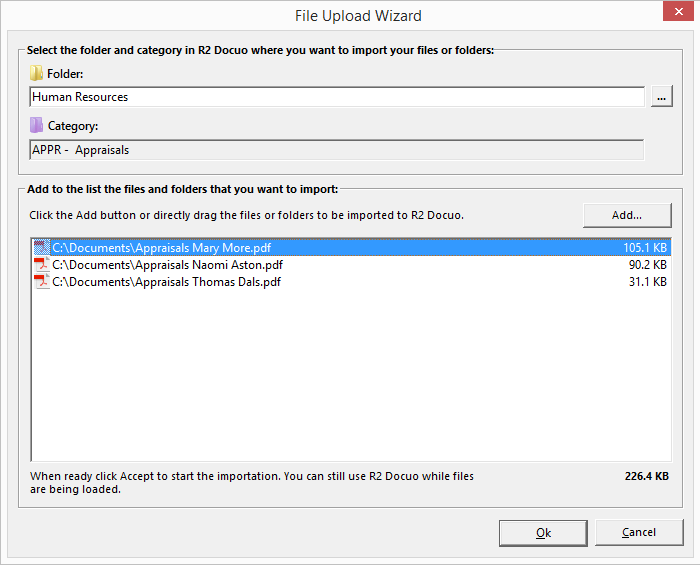
When you click OK, documents will start to be uploaded into the selected category.
Importing data from a template
This option is only available for repository administrators.
R2 Docuo has the option of creating documents importing metadata values from template. When importing the data, the document is created with the values of the metadata filled but without the associated main file. Then if necessary, the main file should be associated with the document.
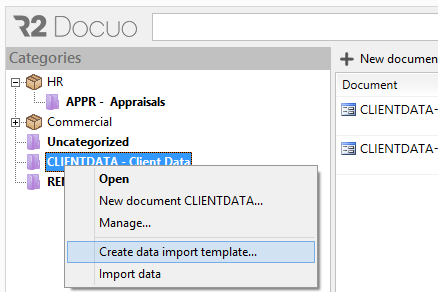
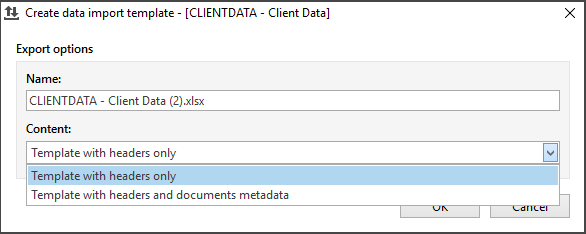
To create documents by importing from a template you will need to open the category's options menu with a right click of the mouse and select "Create data import template".
Selecting this option opens a dialog box to choose whether the fill template is generated with all the metadata in the category (to edit existing metadata), or an empty template is generated only with the headers (to import new Records)
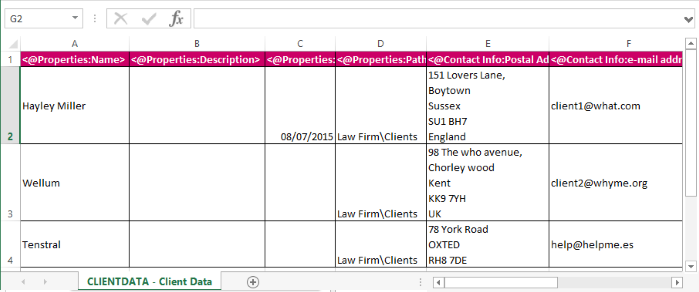
Creating the template only with the headers generates a Microsoft Excel file with a column for each field and attribute associated with the category.
The data is completed in the template in the same way that would be done in any Microsoft Excel document, the only exception is the attributes that need to be completed by separating the values by semicolon.
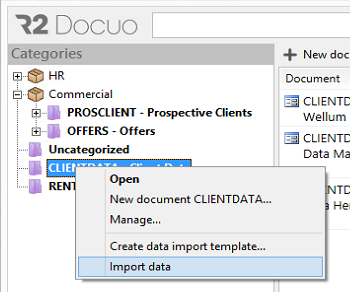
To import the records created in the template you must select the category in which the data will be imported with the right mouse button and mark the option "Import data ".
The file explorer window will open so you can select the template from which the data will be imported.
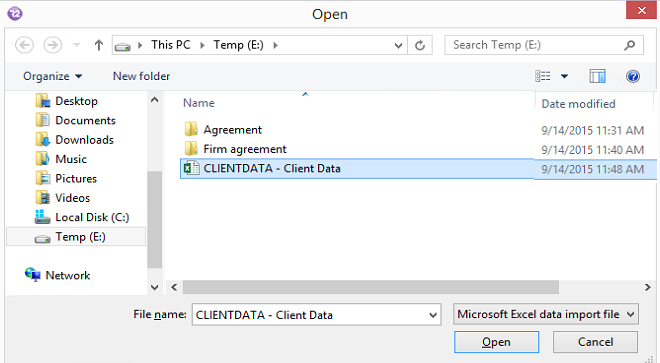
The documents will start to be uploaded to R2 Docuo. When finished, the results list will be updated and the created documents will be displayed.
All export and import processes appear in a File transfer window tab.
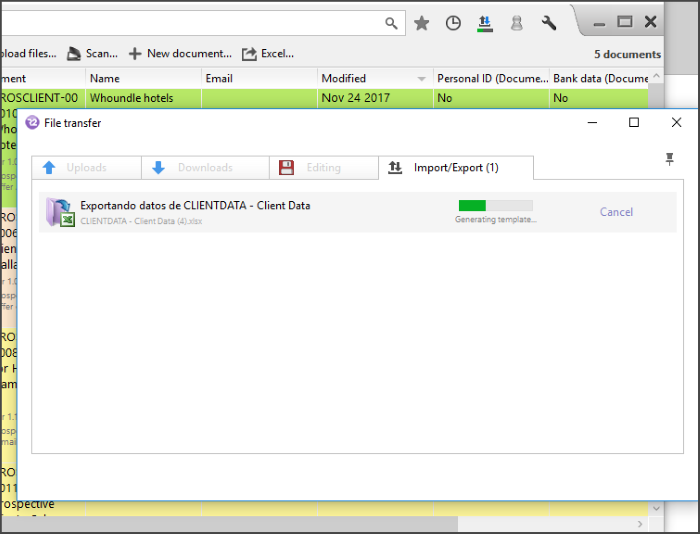
Progress is also shown on an icon in the upper right-hand side of R2 Docuo. When the export or import task terminates, a notification is received.
Scanning Documents
This option is available only if there is a scanner connected and with drivers installed on the TWAIN-standard-supported computer
When there is a scanner connected to the computer from which R2 Docuo is accessed, the button "scan " appears on the buttons bar.

Pressing it opens a window of options that allows you to choose whether, in the case of performing multiple scans in the same action, you create a different PDF file for each page or a single PDF file with multiple pages.
For more information on how to scan documents click here.
Changing documents between categories
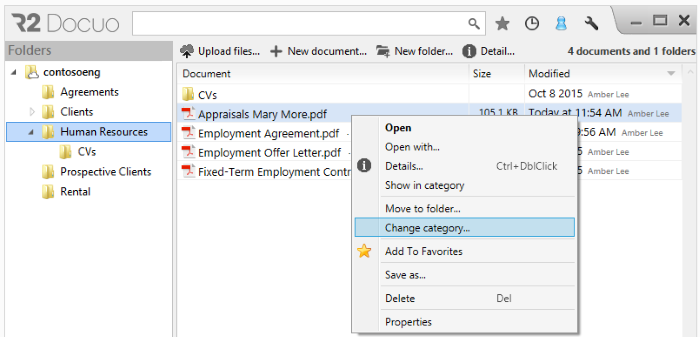
All documents saved in R2 Docuo have the option to change category.
To make this change all you have to do is to open the document's options menu with a right click of the mouse and select "Change category".
A window will pop up where you can select the category you want to assign to the document.
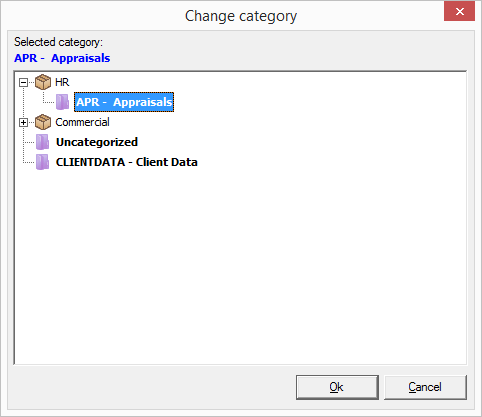
When you click OK, the document will change to the selected category.